
Practical Info. Sources in Parkdale High-Park Toronto
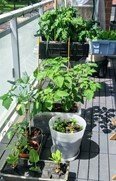
I've gardened outdoors in soil before, but last year on my south-facing balcony I grew: lettuce, kale, cherry tomatoes, green onions, groundcherries, chocolate mint and herbs including sweet basil, Thai basil, parsley, chives and oregano. It was really satisfying and fairly fruitful. Recently I got a book from our wonderful public library system, "Grow Without a Garden: 101 Plants for Containers", written by a Torontonian, Lara Mrosovksy. It inspired me to write this. I'll share some of my on-going research and apply it specifically to our balconies as best I can. Although the condensed advice below may make it sound like a lot of work, the prep was mostly a 1/2 hour or hour at a time over several weeks. I expect it to be less this year now that I'm prepared. I hope this article increases your confidence and saves you some work.
1 - YOUR ZONES
Each balcony has its own 'microclimate' - some are a bit harsh. The 1st thing to do is estimate the amount of direct light that plants could get on a sunny day, not shaded by glass partitions, furniture, columns in the useable parts of your balcony. Raising up containers to get light from above a blockage (e.g. up to the level where glass/ railings are not throwing shade) helps a lot; your estimate can be increased if that's the plan. Reflectors can bounce light to where you need it, e.g. anti-sun car windshield screens (properly weighted or tied down) or foil over a baking sheet; do not use mirrors (many reasons). Remove/re-arrange reflectors regularly to ensure plants are not getting fried or sun-burned (it's a thing). If you've typically got a lot of wind, then try to screen your plants from the prevailing direction (check if this creates too much shade), or place them inside some kind of greenhouse (see "Hardening Off" for ideas).
Your 'light budget' determines if any particular patch of balcony is:
Zone A - High: 5-6 hours full sun + at least another 4-5 hours indirect; probably South- or West-facing balconies have this
Zone B - Mid-level: 3-4 hours full sun; East-facing balconies get morning sun; partially-obscured South- or West-facing areas may also have this
Zone C - Low or indirect: North-facing or shaded sites (any location). Consider improving your options with grow-lights.
>> EACH BALCONY CAN HAVE A MIX OF ZONES, WITH SHADED CORNERS AND BRIGHT SPOTS. But one bright spot may be all you need if you only have one plant that requires that amount of sun.
Veggies: Because a lot of gardening (and life!) consists of knowing what not to spend effort/$$ on, I will only suggest plants that are: commonly available as seeds or plants; heat-tolerant and (mostly) non-bolting; don't need high support structures that topple in windy conditions (big mess); are space-effective for what you harvest; whose root and spacing needs don't require more than a 50-litre plastic moving/storage tote or bankers box (the max I'd suggest). I offer a detailed "One Possible Plan" in section 6 below.
Where you have:
CHOOSE from these*:
Zone A** 5-6 hrs sun or more
Basil. Beans (except fava). Mini/finger Eggplant. ** Fennel. Okra. Chili Peppers. Lil Bell Sweet peppers. Thyme. Tomatoes.
Zone B*** 3-4 hrs sun
** Arugula (might plant with mint). Basil. Beet Greens. Collard greens. Cherry Tomatoes. Dwarf Peas. Kale. Malabar spinach. Nasturtiums. Onion - green, bunching (slim bulb). Most herbs.
Zone C Low or indirect sun all day
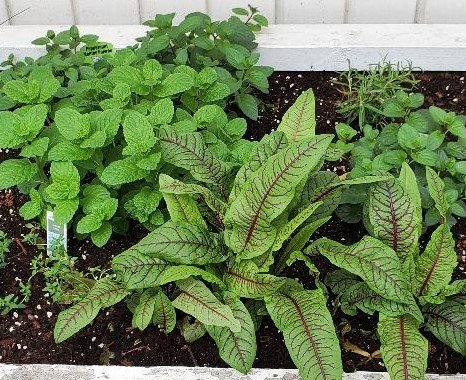
Chives (do not plant with peas or beans, but lavender is good). Cilantro, Coriander. Dill. Lemon balm. Mesclun mix + other lettuces***. Mint***. Mustard. Parsley (can plant with peppers or tomatoes). Plantain. Sorrel. Tarragon. Thyme. Wild ginger.
* These others are not worth container growing (IMO) due to difficulty, inefficiency, cheaper to buy: carrot, celery; chard (need big deep container unless harvesting as small greens), eggplant (80-90 days in full sunlight); garlic (plant in fall, 9 months to maturity); potatoes (cheaper to buy); spinach (mostly not heat tolerant, except Malabar); sweet potatoes (fussy); zucchini (very large container, possibly high supports, a bit fussy), tomatoes except cherry or small bush types. But experiment if you wish!
** Zone A can also generally grow plants suggested for Zones B or C; Zone B can also grow Zone C plants. But if 'lower-light' plants get sun-burned or heat-stressed, move them out of direct sun, or grow them in the shade of other plants, or cover gently when needed with a loose light-shade cloth like a drawstring bag made from netting e.g. laundry or veggie bag.
*** Mint, Fennel => each in its own pot alone (not a good companion except as specified)
Lettuce, arugula => will ultimately 'bolt' in hot weather (make seeds, get bitter), but you probably still want them in Spring and Fall
2 - PLANT CHOICES and PLAN
Choose which plants you want to grow/eat, consider how many containers you want to use (how many can fit and how many you want on your balcony), and look at planting guides to see how many plants can thrive in each container. My best advice is to stick to herbs and a few plants you want to harvest continually that are reasonably easy and hardy, like the ones below, as available within your "light budget".
Notes: Max # Plants per container: I've taken advice from "square foot" planting charts (online) although these are mostly for soil gardening, not containers. The surface area (length times width) of the container at the soil level (probably the same as rim size) determines the # of plants to be planted. Both a 12" x12" and a 10" by 14" area, for e.g., have 144 square inches = 1 square foot ('sq. ft.'). The info on your seed packet, or the plant-pot tag, should over-ride that general advice. You can try to squeeze more than the recommended allowance into a container (and I did), but not too much (maybe 1/3 more), if you are gardening intensively, and keeping up with amendments, fertilizer and watering. A Companion is a plant that thrives in the same container/soil or is a benefit for various reasons.
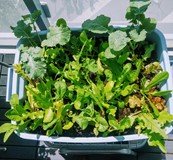
Lettuces: Allow 6+ plants per sq. ft. after thinning out (thinned plants can be eaten or re-potted). Lettuces may not last through summer heat; my looseleaf plants (photo) wilted a few times but survived) although Vivian Romaine from Urban Harvest is said to be heat tolerant. Grow from seed April/May indoors laying directly on the seeding-mix in any container at least 2-3" deep and pressing very gently (i.e. don't push seeds down into the soil). Varieties: red looseleaf/oak leaf varieties are easy and nutritious; packets of mixed looseleaf lettuces are available in regular or Asian/spicy, and can be more densely seeded in the Spring and again in Fall! Grow as much as you want - about 2 containers' full would be good. (Between the lettuces and kale I stopped buying packaged salad for about 2 months last year.) Companion: chives repel pests.
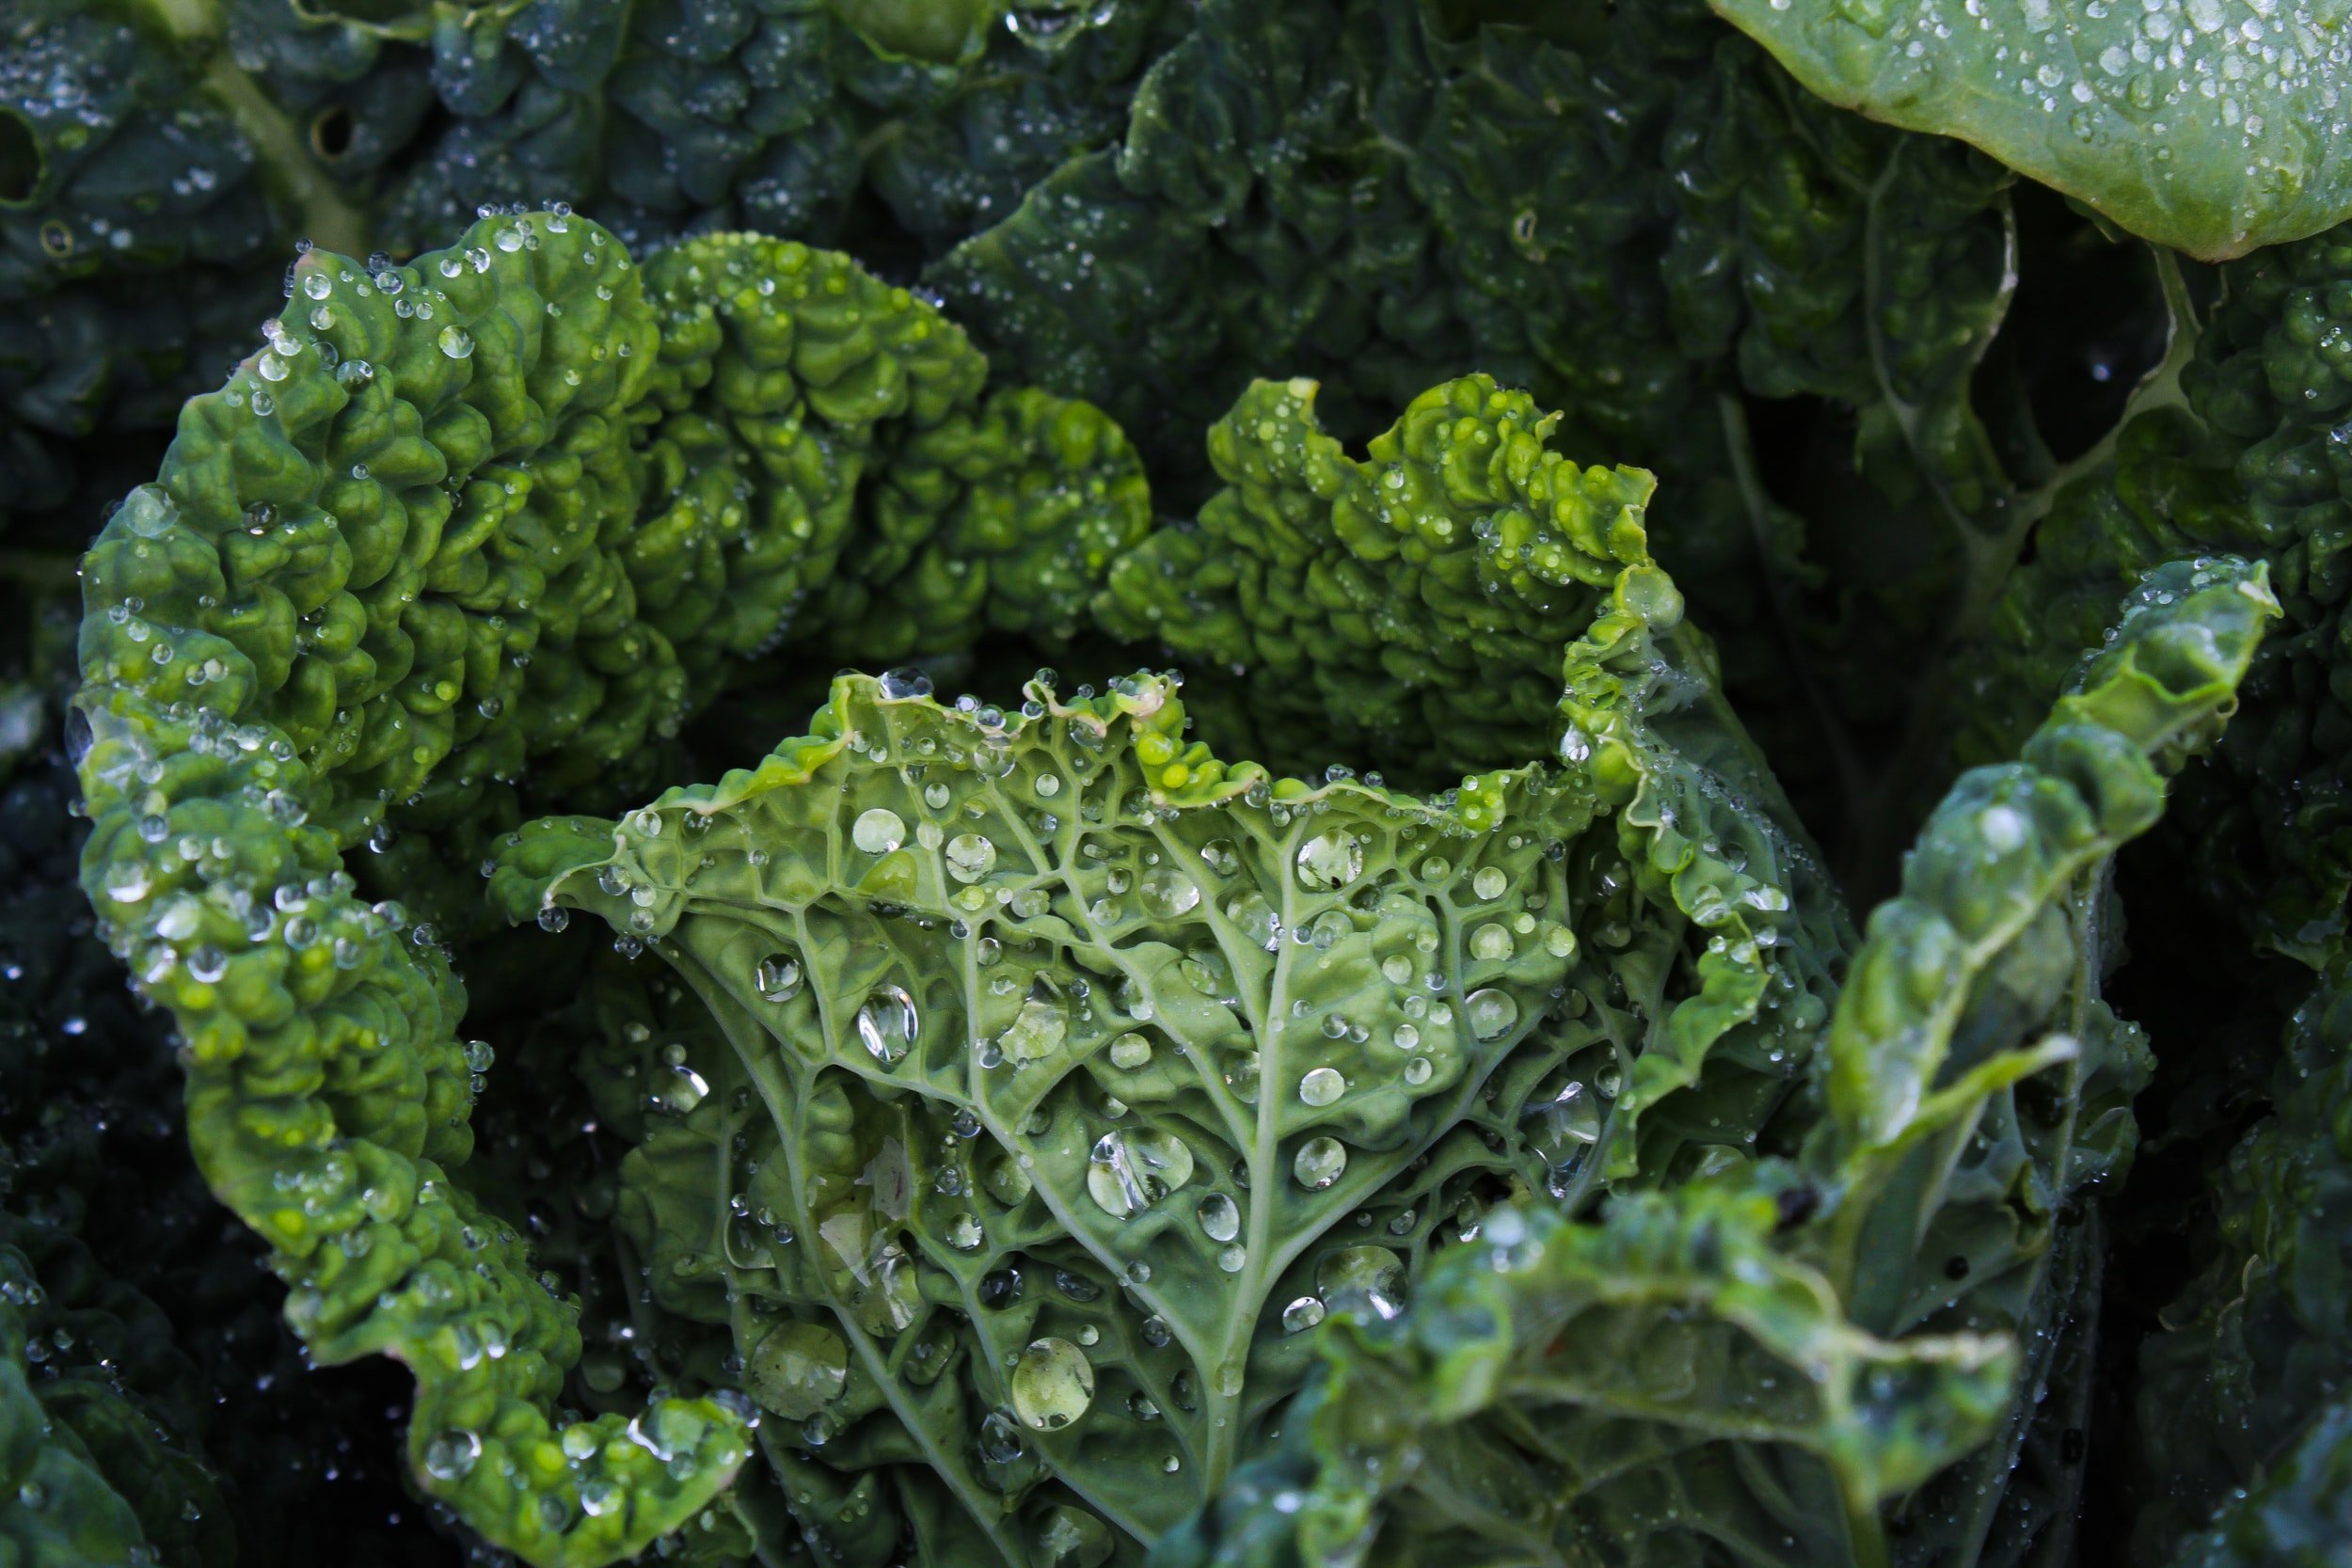
Kale: Allow 2-3 plants per sq. ft. This easy-to-grow superstar lasts long into the cold season, and will stay indoors after that (re-potted if need be); 2 of my last year's are still with me, fertilized every 3 months. Start from seed any time or buy plants; assume 3 kale plants are needed per eater. Varieties: dwarf blue curled Scotch; Red Russian; dinosaur/black lacinato. Companion: green onions; thyme and/or rosemary (or Greek oregano or mint, but may need bigger pots for those as they spread a lot). Start from seed in March/April or buy plants.

Cherry Tomatoes
Cherry tomatoes: Allow 1 plant per sq. ft. (but possibly 2-3/sq. ft. if nutrient levels are kept high). For a decent yield consider growing 2-3 plants. Grow from seed starting in April if you've got growlights, otherwise buy plants in May. Varieties (bush): Brookpact, Czeck, Mountain Princess, Baxter's Bush, Ana Aasa. Container should be 10-12" deep. Tomatoes have different feeding needs: a handful of crushed eggshells and 2 Tbsp of epsom salts (sold for mineral baths) can be mixed in when 1/2 the soil is in before filling up the container. Planting: Remove 1-2 sets of lower leaf-branches of a strong young plant, then plant the stem deep enough to cover those wounds (they will throw more roots out from there). Cage or stake each plant then mulch. When fruit are forming add a reflective red item (like a plastic folder cover or outdoor table cloth) underneath the plant (they love the wavelength reflections). Water the soil, NOT the leaves. Hen poo pellets are a good fertilizer to sprinkle on soil when fruiting as it gets watered in (not smelly). Companion: sugar snap peas OR basil OR chives OR green onions (but not peas and any onions together).
Nasturtiums (pretty + anti-pest + salad-edible): Allow 1 plant per small pot, 2-3 plants for bigger pot. Varieties: Get a bushy, not a trailing, type like Dwarf Jewel mix. Check whether both leaves and flowers are edible (usually the case; spicy flavour). The plant will attract pests away from other plants and should be thrown out completely at season's end (organic waste). It's supposed to be drought-tolerant and happier with poor well-drained soil (perhaps 1/3 sand +/or vermiculite); don't let potting medium get soggy.
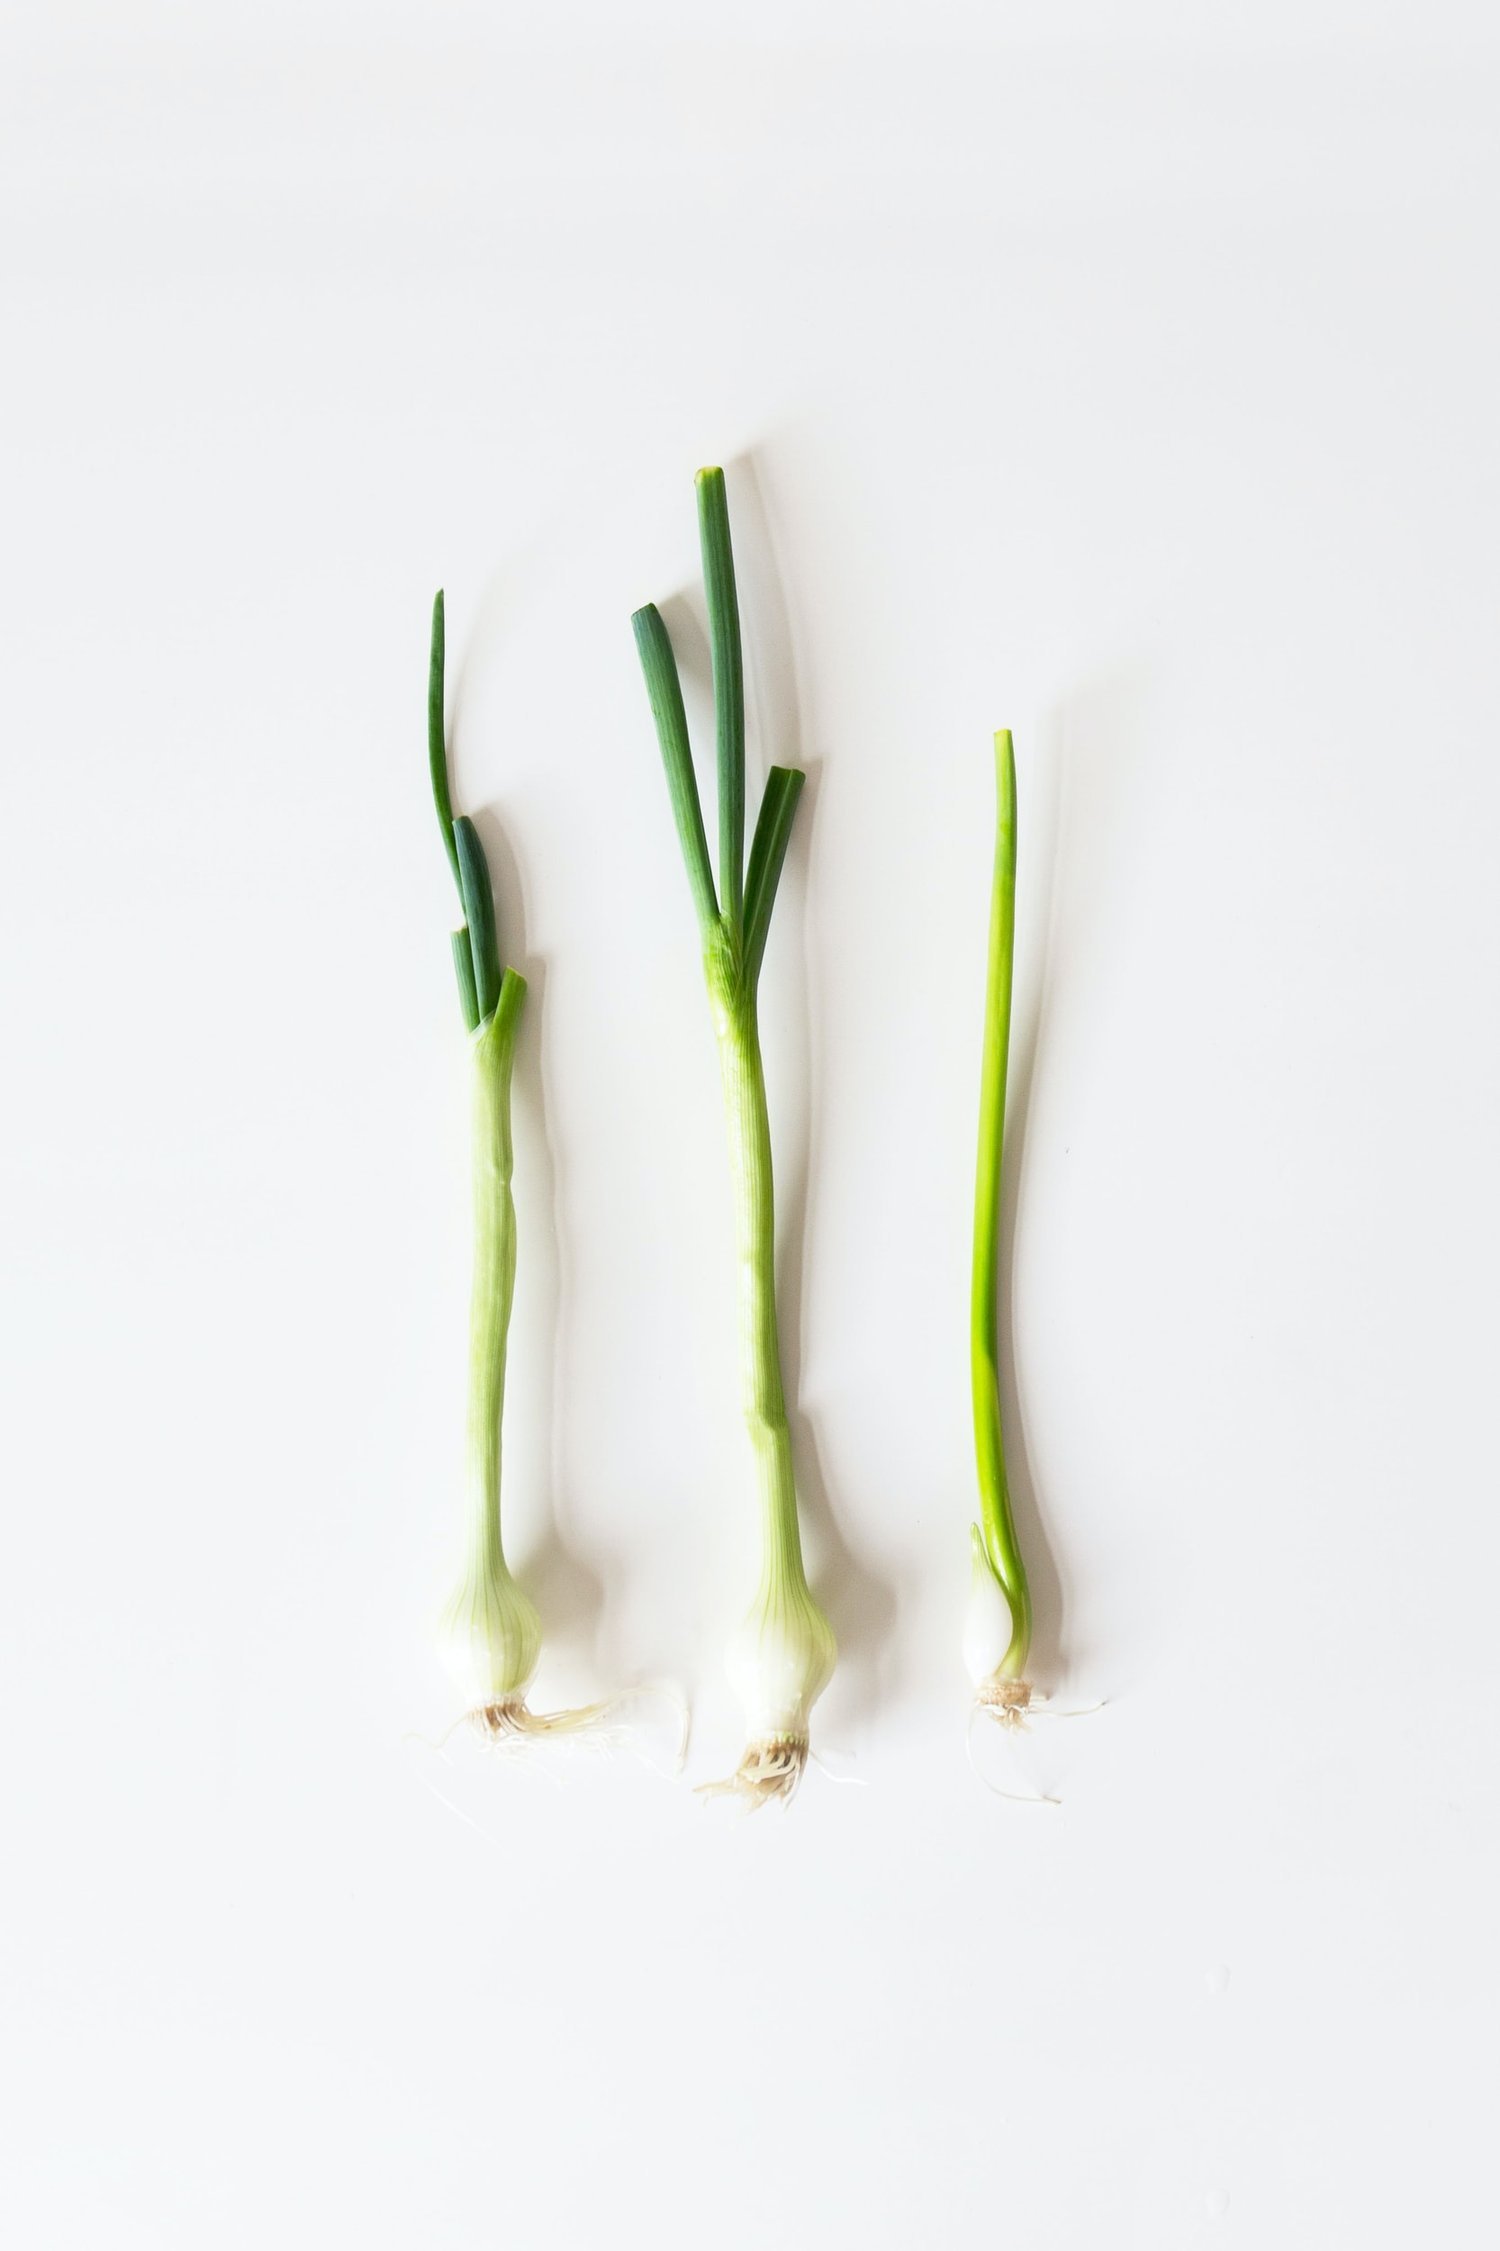
Green onion (slim/bunching): Allow 9 plants per sq. ft. These seemingly grow forever, outdoors and in. Look for plant or seeds called "Evergreen bunching Onion" but the absolute easiest way is to buy a bunch at the grocery store (I prefer organic; Organic Garage or The Sweet Potato may have), and cut down to 1" of bulb, leaving the roots intact (eat the greens of course). Put 1-3 bulbs per drinking glass/glass jar in water with the cut side above the water level, in a sunny window until the roots grow out at least double; refresh water weekly. Plant the roots and white bulb in 6-8"(or more) deep soil. Bring indoors over winter, repotting as needed (they are odourless) and fertilize approx. every 3 months. I've got 5 plants going from a bunch bought last Feb. Companion: tomatoes OR kale OR lettuces, but not peas or beans.
3 - SEEDS, SEEDLINGS AND PLANTS
Really new or busy gardeners will want to get plants or seedlings from friends/vendors. If you're going to branch out from the basic suggestions above, remember that different plant varieties vary in their needs so find out: (a) if your Zones provide its sunlight needs; (b) its root length and spacing needs; (c) if it'll need supports - you may want a dwarf variety instead; (d) it is/has a good companion or is a bad companion.
Plants: Buy as soon as they're available at good nurseries or Urban Harvest, the seasonal pop-up near the Bee Shop at 1340 Bloor (an excellent organic supplier with helpful staff) which opens April 1, 2022. Keep indoors in your best sunny window or under grow lights until you can harden off (see below) and then re-pot in outdoor containers after all risk of frost is gone. To separate the roots of inter-twined mature plants for planting (e.g. to meet plant-spacing needs) pick them carefully away with a fork over a sink or other soil. If you are late buying, or get more ambitious, there are often BOGO sales the last weekends of May (more mature plants). Note: you will often get several plants per pot so check what your spacing plan allows. For e.g.: a pot with 3-4 tomato seedlings may be enough (or too much) when they are planted 1-2 per sq. ft. BUT I personally tried 2-3 plants per sq. ft. and believe it works so long as sufficient nutrients are added. Shop with friends to split plants and costs.
Seeds: The choices can be overwhelming, but many are not suitable so check to see if they are container-growing specific, or at least compact/bush, and hardy. Seedy Saturday has info and events, and introduces you to the community of those who love to save and plant seeds.
(a) Plant these seeds indoors in March/April for seedlings by outdoor planting weather: tomatoes, herbs (basil, parsley), peppers. Consider packets of lettuce or herb mixes, which will've been chosen to be able to grow together. Your old packets of seeds may have reduced fertility after 1-2 years, so don't expect to fully rely on them or necessarily stock up when buying again.
(b) Peas and other large seeds should be pre-started (germinated) on a wet paper towel in an unzipped plastic bag placed on top of the fridge in relative darkness for warmth for 4-5 days (do not wet the towel again), then plant with the tiny leaves above soil level.
(c) Plant seeds 3 times as deep as the seed height; e.g. small lettuce seeds just get pressed lightly into soil, but a 1/4" tall pea/bean seed gets planted so the bottom is 3/4" deep in the soil. Pre-water the seed starting soil and don't plant until it is only moist (not soaked); you probably can plant about 20 min. after watering.
(d) Mostly any clean container will do for seed starting, with a seed-starting mix, including grocery plastic containers such as those for salads, yogurt tubs, even the stand-up bags for frozen fruit (folded down to a useful level), and the classic egg carton (for small seeds).
(e) Water very gently, checking daily. Or use a watering mat, which can be any strong open-cell fibre/fabric like Swedish dish cloths, some craft felt, heavy duty reusable cleaning wipes. The mat should be placed under a seeding container with holes in its bottom that allow contact between the wet mat and (dry) soil, and the mat should be raised above the water reservoir so that only capillary action moves the water up to the seed-tray level. See + copy (or buy) this commercial solution for complete light and moisture: Sunblaster which has several growing kit options. The T5HO (I have) should be about $100 at Grow It All near Dupont and Dufferin (an experience to visit!) or other stores. Hacks available.
(f) Seeds need Spring-like conditions - warmth, light, moisture! Use a grow-light (fluorescent or LED bar or strips or even Xmas lights placed 4-6" away if possible, for 14-16 hrs/day, or at least put in a sunny window. Seeds need moist (not soaked) soil - that's why a watering mat is good. To get warmth (25 to 30 C) you can put a heating pad under a metal baking tray under the seed tray for 1/2 hr a day, or some people use a "crock/slow pot" on low (monitor this!).
Seedlings: If you've started seeds in a very shallow container (egg carton) and the roots are showing, then you need to re-pot. By the time seedlings are 4-6" tall/long or have sturdy stems, most will be strong enough for hardening off, but only when it's warm enough; later they'll be planted in your outdoor containers. Water seedlings gently from soil level, or place on a watering mat.
Hardening Off: Most young plants need this. Start when outdoor temps (use a thermometer) are consistently above 7 C (45 F) in daytime. You can put them in high-sided plastic containers (totes, strong plastic bags) or carboard boxes, or a greenhouse, to reduce wind/stay warm and move easily in/out. Move plants onto balcony for 3-4 hrs/day in full or mid-sun. Move back indoors during high winds, cold spells, before night time. IKEA Hyllis shelving units make a handy greenhouse now (and later for raising low containers like balcony planters with low-growing plants) with this cover (roomier, and much better transparency + zippers, than the IKEA Hyllis cover) both during hardening off and in cooler Fall weather.
4 - OUTDOOR CONTAINERS, SOIL, PLANTING
Choose containers: of up to about 50 litres and rigid or strong enough to hold the weight of soaked soil; clean, unpolluted; clear or coloured. Options include plastic storage totes or barrels (new or discarded), railing planters (lettuces), plastic bankers boxes, even extra-large bags (eg. IKEA blue plasticized textile shopping bags) or surplus household garbage cans, as well as the usual smaller clay pots.
> It's good to be able to move containers to chase the sun over the course of a day or the summer. Either use a table, stool or dolly, or ensure there are handles/straps/lipped edges for carrying or dragging. Big ones will be too heavy to move - that's why we don't want huge boxes.
> Size and shape are chosen based on fully-loaded weight, available balcony pot space, and plant spacing needs. Use 12" depth for kale + tomatoes and 8-10" depth for lettuces, chives, herbs. Note: with plastic bankers boxes you can fold the lid-flaps in to protect plants during cold or windy spells, but leave a stopper in between for an air gap if needed! Clay wine coolers are deep, not wide, (and evaporate water quickly to stop root rot), so consider them for chives, or 2-4 green onions, or 1-2 kale or herb plants; used ones are available at thrift shops $4-6. Cardboard boxes will fall apart when wet but can be used temporarily to hold other small containers (on a tray or liner) for moving purposes during hardening off.
>> Containers need drainage (mildew is yucky) since it's easy to over-water; either use clay (porous) containers with a hole in the bottom or punch holes in plastic boxes at base and sides. It's best to put a 1-2" layer of stones or broken crockery on the bottom before soil is added for water to drain into below the planting medium. Plastic boxes can be carefully cracked or punched with holes (I love my vintage ice pick! some people use a drill - see methods online), which is why cracked old boxes are even better than new.
> Place boxes on their lids, and other containers on trays, to catch water +/or for pushing around. Old plates, baking sheets, roasting pans (1-time foil or metal) etc. are options. To bounce light upwards they can also be lined with reflective foil.
Store containers over winter on the balcony, if you wish, except for clay pots which freeze and break.
When it is warm enough (above 7 C/45 F regularly each night, although there are other opinions):
(a) Fill containers to about 2" from the top with good vegetable soil mix (except nasturtiums). DO NOT USE: top soil, triple mix, or regular outdoors black earth. I prefer Pro-Mix Organic Veg and Herb. Add/mix in any amendments when about 1/2 full, then water at that point before adding the rest of the planting mix.
(b) Put plants into a pre-dug hole about twice the size of the root + soil area, gently placing the teased-out roots as far down into the soil, and also spread out in a radius, as possible (perfection is not required); re-fill the hole with soil and pat until firm enough around the stem base to hold the plant up. Gently water at soil level. Check daily for the 1st week or 2 to ensure the plant is establishing itself and growing, and water if the soil gets dry.
(c) If you will need plant supports (peas, tomatoes), push them deep into soil right after planting, +/or weigh them down. Water. Then place at least 1" of mulch on top of soil to keep it moist, especially in windy areas, and water the mulch; I like coconut coir.
(d) Use padded ties when ready to gently secure the plant to the support when the stem can't support upward growth.
5 - GROWING SEASON, HARVESTING
Now it's mostly watching, watering, adding nutrients, and harvesting.
Pests are often less problematic on balconies but check the internet for advice if you see cabbage moths on your kale or thrips/aphids on the herbs - there are fairly easy home-made sprays. You can still eat otherwise healthy produce that insects have 'found', just wash it thoroughly and leave leaves in fridge for an hour or overnight pre-use (like crisping lettuce).
Watering: check plants daily and water at least every other day during heat and dry spells; trust your drainage prep to take excess water away (or invest in moisture monitoring devices). Water moderately at the soil level whenever you see leaves are limp. Generally don't water tomato leaves or any other leaves that are in the sun, but you can mist (with a bottle sprayer) leaves and stems of plants that are not in sun, like herbs, lettuces. A plastic or glass bottle (e.g. ex-salad dressing), with a single pin-hole in its plastic screw top (love my ice pick!), can be filled with water and left upside down buried halfway in the container soil for slow watering. Online watering hacks abound.
Cut away dead or dying leaves at the stem (they take energy from the plant) as opposed to pulling them off raggedly. Dig out + toss dead or overly-buggy plants immediately, keeping them away from other plants.
** Soil amendments are probably required 3 months after planting, and/or during peak growing period in July and August: Acti-Sol chicken poo pellets are available for various uses (hey, it works on farms!) - I use it for tomatoes; 1 Tbsp. epsom salts spread in soil, not on roots has fans online; fish emulsion or seaweed meal amendments as directed; crushed eggshells for tomatoes; compost tea if you've got access. [I suggest that you do not use coffee grounds anywhere.]
Harvesting: best done in the morning; herbs especially are strongest then. No real need to wash your produce unless dirty but, if wet, leave on a towel to dry out of sunshine. If not being used right away, refrigerate in airtight containers the watery plants like lettuces, chives, onions, and basil.
> Harvest using kitchen scissors or snips: Lettuce, green onion, chives, and kale leaves: cut off the largest/tallest +/or aging leaves near the stem but without harming the stem; some leaves must be left or the plant can't grow. Cut Basil at the stem, not just leaf-base; cut from the top down (to discourage flowering) but only down to above a growing set of leaves, where it will send out new growth. Herbs like oregano, rosemary and thyme benefit from continual harvesting at the stem (don't pull leaves off), but don't take more than 1/3 plant at a time.
> Harvest by hand: Cherry tomatoes are ready when deeply coloured and they can easily be twisted off their stem. Unripe tomatoes (only a bit coloured) at end of season can still be harvested and left in a sunny window, or wrapped in newspaper for several days, to ripen. Parsley is stripped off the stem by hand at the base of the leaf.
6 - ONE POSSIBLE PLAN
Needs: probably 1-2 of the 28 litre bags of soil for each larger container, and 1 bag for each medium container; 1 block of coconut coir (there will be lots left over so consider splitting with a friend); 2-3 tomato cages/supports and padded ties; a lot of small rocks +/or broken pots/crockery. See the specific planting advice set out above for each type of plant; assume you should mulch unless otherwise stated. You can, of course, do multiples of any pot suggestions if you've got the sun and the space.
Zone A = the most sun, raised pots: Pot #1: 12" deep tote with 1 cherry tomato + 1 basil per sq ft (thyme is an optional addition) in soil prepared for tomatoes. Pot #2: Sugar snap pea plants 4-9 plants per sq. ft.; (my fav snack food, and a new experiment this year) in 12" deep pot, with seedlings planted regularly-spaced 1" from the edges; add a tomato cage (funnelled, small end in soil) in the middle for training-support. Pot #3: 10" deep for 1- 2 nasturtium plants, in a mix of sand/vermiculite and potting soil; keep it near the tomatoes; no mulch.
Zone B = Less direct sun, including shaded floor areas in Zone A: Pot #1: an 8" deep tote with 2 kale and 4-6 green onions per sq. ft. in a good veg soil. Pot #2: Looseleaf lettuces (sown densely at first then thinned to 6 per sq. ft.) and 2-3 chive plants per sq. ft. in a 6- 8" deep container with good veg soil. Tiered planters would be great but are usually $$$ . If you find a cheaper solution please let me know!!
Zone C = Low sun including any shaded Zone A/B/C area or North balcony:
Pot #1: Mixed herbs in an 8" deep planter/pot, eg. 1 each of: Greek oregano, thyme, Thai basil, cilantro, coriander. (Dill and sage can get buggy and may need deeper pots but if they are 'part of the deal' in a mixed seed packet or nursery pot you can decide what to do if that happens.) Pot #2: Mint(s) or fennel, alone, transplanted into a deeper 8-10" pot when they outgrow their seedling pot.
7 - SOURCES + SHOPPING Start assembling your stuff now!
Urban Harvest when it pops up at 1340 Bloor W. on April 1 2022: seeds (including lettuce mixes), plants, soil amendments, fertilizers, advice. Online until then for ordering seeds.
Dollar stores e.g. Dollarama: tomato cages + bamboo/plastic supports; boxes/planters; watering can; rubber gloves; outdoor thermometer; small tools like scoops (for moving soil into pots); secateurs (garden scissors or snips) if you don't have kitchen scissors you're willing to use; a spray bottle for insect sprays or misting lettuces/ herbs; car windshield light reflectors. Capillary-action watering mat hacks like felt, fibre wipes. Small bags of sand and potting soil mixes as a mix for nasturtiums, even bags of stones, may also be available. Epsom salts.
Any lakeshore beach: 1-2" wide stones for the bottom of your outdoor containers (washed, and can be nuked in water for 90 seconds as well to sterilize; let cool before using).
Nurseries, Gardening centres like Fiesta Farms + hardware stores (big box or Pollacks Home Hardware on Roncesvalles): (a) Seed-starting soil, if needed; (b) 28 Litre Pro-Mix Organic Veg + Herb Mix (with mycelium), about $10/bag, has 3 months of nourishment in it already for all outdoor containers. (Pollacks) Consider group buying a large cube (2 cu ft $28) or ordering in advance as this can run out early in the gardening season. The 28.3 litre bag may fill one medium container, 1/2 a big box, or several small ones >> don't pay $9 for the 9-litre bag, 3 times as small! (very weird pricing). (c) Coconut coir mulch block (Pollacks had it). A small 4 kg. $10 block will last a long time - you pull some off and soak it to expand. (d) Bags of stones or clay pellets for container base. (e) a dilutable liquid veg fertilizer for over-wintering veggies; you don't need it yet but may want to have it ready for additional plant-feeding towards end of summer. (e) Seeds, plants; (f) Watering mat or craft felt or Swedish dish cloth.
Hardware stores, your own storage unit, online, dollar stores, thrift stores like Value Village and Salvation Army (1 each near Bloor and Lansdowne), IKEA: (a) new/used containers preferably clay pots or plastic (metal can heat up too much). Small 7-8" deep, light strong plastic, any shape, including long railing planter, for lettuces, onions, herbs, and/or Medium 10-12" deep, strong plastic, any shape, for kale, tomatoes; (b) soil amendments and nutrients. Acti-Sol hen and chicken pellets for tomatoes/veggies (c) wire mesh etc. stools/tables, or wood like IKEA Tarnö, to raise container height; IKEA Hyllis shelving units with this cover on the 3-shelf Hyllis unit as it is roomier and taller, with much better transparency, than the IKEA Hyllis' own cover.
Your home - look around for: containers for seed starting; egg shells to crush in bean grinder or by hand (I throw them in a bag/box in the freezer until needed). Be creative! The heavy-plastic transparent zippered bag I got when buying a duvet makes a great little portable greenhouse for hardening off, with the zipper open just a bit for air. Scoops for digging out planting holes can be any kitchen utensil that works, including a soup spoon/ladle.
Grow It All: 165 Geary above Dupont and Dufferin: hydroponics, grow lights, liquid fertilizers etc.
Drugstore: Epsom (bath) salts for initial soil prep.
8 - THE END.
Gardening (like life) is an experiment - good luck with yours !!
Other sources: the internet is full of advice on everything mentioned here. The Toronto Public Library is another resource.
Disclaimer: I've tried to provide useful info but can't 'guarantee' any of it. Buy from people who sound like they know what they are doing and get info/ advice specific to your circumstances.
Comments: Post comments or start discussions if that's possible where you find this.